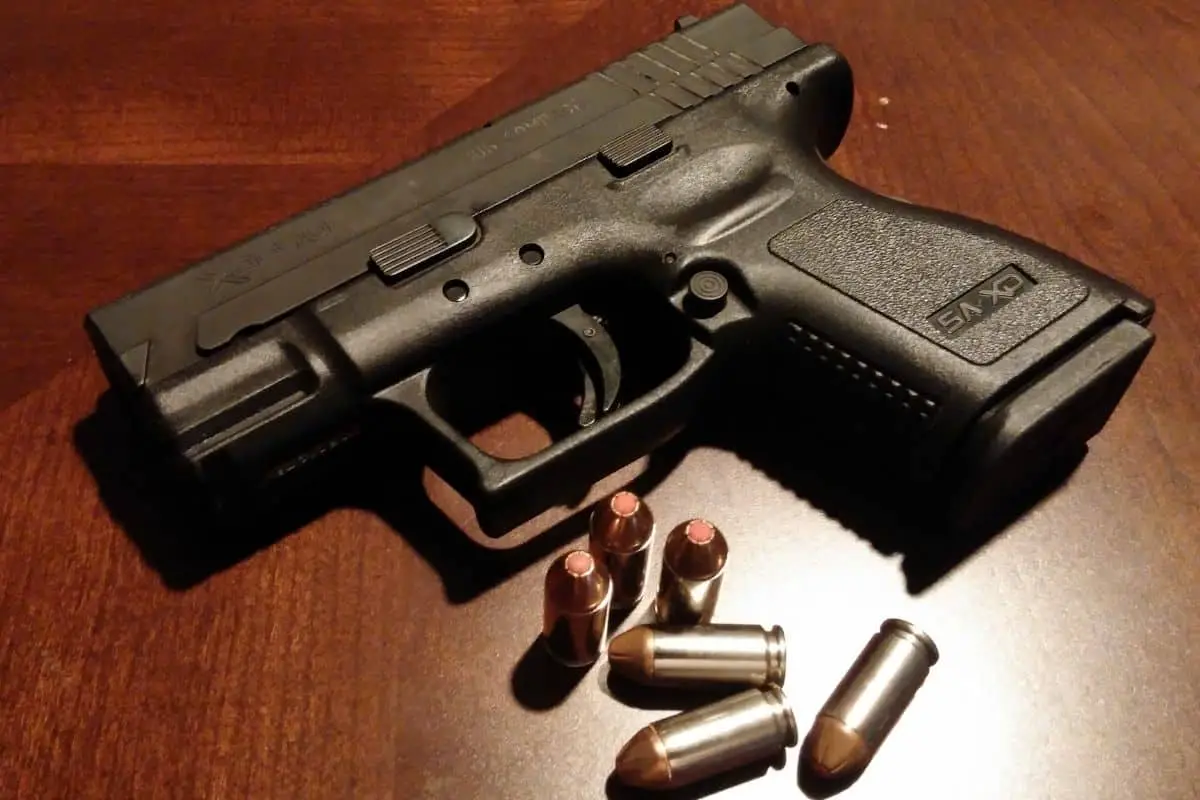
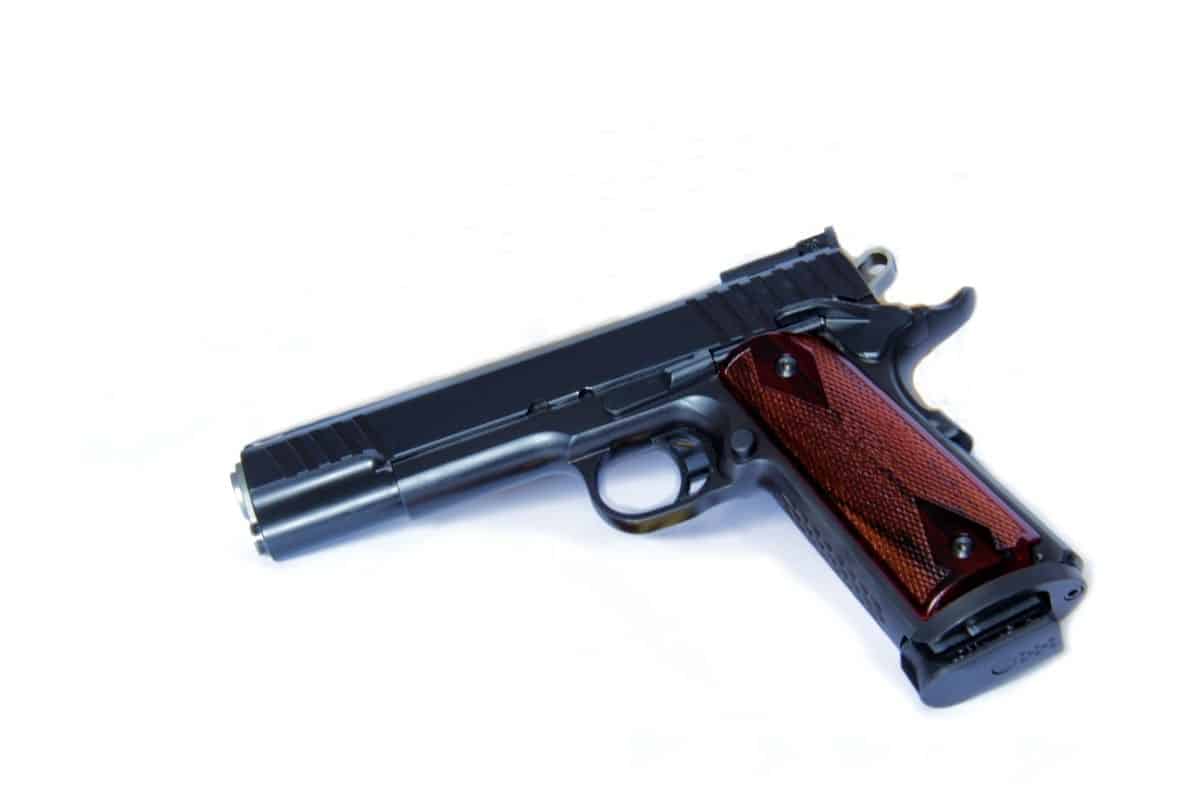
These days, guns are available in all kinds of color schemes and designs. But what happens if you buy a gun in one color and then change your mind?

Or what if you want to make sure that your gun is easily identifiable as yours at a glance?
Many gun owners today are choosing to paint their own guns to make them more unique and personalized.
However, if you want to give your gun a custom paint job, you will need to know the best methods to avoid damaging the functionality of your firearm in the process.
In this article, I will be outlining 3 tried and tested methods of painting a gun so that you can customize your firearm from home!
Can You Paint A Gun
The short answer to this question is yes, you can paint a gun. However, you need to know how to do it correctly because if you use the wrong paint, the wrong painting utensil, or the wrong technique, you could damage your firearm.
What you don’t want to do is take an old can of random spray paint from your basement and start spraying your gun. This will not end well, even if the paint is suitable for the task.
Painting a gun is a careful process that involves disassembling, painting each component individually, leaving the components to hang for the duration of the curing time, and eventually putting your firearm back together.
Preparing Your Gun Before Painting
Before you can start painting your gun, you will need to prepare it. This is to ensure that the condition of your gun doesn’t interfere with the paintwork.
First, make sure that your gun is not loaded and disassemble it fully. If you’re not used to assembling and disassembling your firearm, it might help to take some pictures throughout this process to remind you where everything fits together.
Next, you will want to clean and remove any grease from your gun. I recommend using acetone because it won’t leave any residue when it dries.
Clean each piece of your firearm one by one. Once you have cleaned the pieces, don’t handle them again without gloves.
Plug the bore with a tapered plug made of silicone. If there are certain parts of your gun that you don’t want to paint, use painter’s tape to protect them.
You also need to prepare yourself! Remember to put on a respirator, gloves, and safety glasses before you start painting.
Different Ways To Paint A Gun
Heat-Cured Finish
This is probably the best way to paint a gun. By using a heat-cured coating, you’ll shorten the time you need to spend painting and also make your paintwork last longer.
Any heat-cured finish product should be suitable for your gun, but make sure to read all the instructions on the product you buy very carefully.
First, coat the pieces of your gun that you want to paint. Make sure that the coat is even.
Most heat-cured finishes need to sit for a while before going in the oven to allow the chemicals to disperse, so hang them up carefully in a place where they won’t come into contact with any other objects.

I recommend keeping a bucket full of solvent close by so that you can easily strip away the coat and begin again if one of the gun components touches something.
If your gun is relatively small, you may be able to use a small convection oven for the heat curing process. It’s best to use a thermometer so you can accurately monitor the heat. Obviously, for larger firearms, you will need a larger oven.
Sandblaster/Spray Gun
Using a spray gun or a sandblaster isn’t quite as effective as using a heat-cured finish to paint your gun, but it’s still a good option.
The equipment needed for this process is expensive, so your options are either to spend a lot of money buying an air compressor or ask a nearby metalworking shop to do it for you.
I recommend using a blasting cabinet, but you can also paint your gun using a sandblasting gun.
When using a sandblaster, make sure you have the right pressure settings for the different parts of your firearm.
Metal parts with the exception of anodized aluminum should be blasted at between 80 psi and 100 psi, while non-metal parts and anodized aluminum need between 30 and 40 psi.
If, after you’ve finished, the coating on your gun doesn’t look consistently matte, you should go over the firearm again until the finish is even.
Rattle Can Finish
A rattle can finish is also a viable option when painting a gun. This is the easiest and most cost-effective method, but it may not look as professional as the other methods.
Make sure that the rattle can paint you choose is suitable for painting over existing finishes, otherwise the results will not be durable.
After preparing your firearm as advised in the first section of this article, hang up the disassembled firearm components using wires and start spraying.
You’ll want to do this lightly so that you get thin coats which you can build on rather than ending up with an overly thick, messy finish.
Make sure to give your gun enough time to dry properly once you’ve finished painting. If you touch the gun parts too soon after painting, you might undo all your hard work.
If you’re not sure how long to leave the paint to cure, look at the instructions on the spray bottle. Curing times are different for different rattle can brands.
Final Thoughts
If you are careful and methodical while painting your gun, any of the methods outlined above should yield good results.
Make sure that you have the correct equipment for the method you choose to follow and always read the instructions on the paint container for information such as drying time and surface compatibility.
The most important thing is to be safe at all times, ensuring that your gun is not loaded before you start disassembling it and wearing the proper safety gear at all times.

